Disclaimer: This guide was automatically translated by AI from the German original. Please verify commands and technical details before using them.
¶ Set up Nginx Proxy Manager for Nextcloud on Unraid
Back to overview: Unraid guides
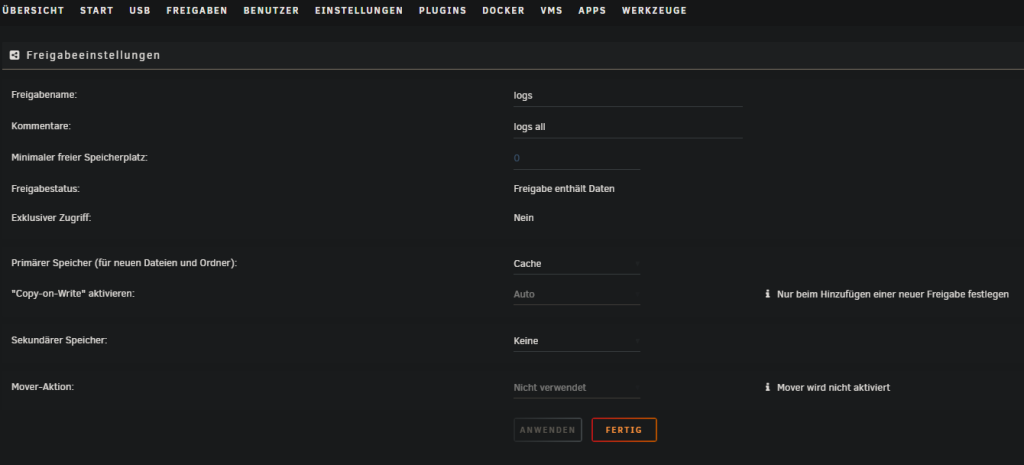
First, create another share.
Go to Shares > Add Share. This share will be used for log files in the future, so name it logs.
To prevent the logs from landing on the array and keeping the disks from going into standby, store the share only on the cache.
After the share is created, create a subfolder. Use WinSCP again and navigate to /mnt/user/logs/.
Right-click in the directory > New > Folder and name it npm, nginxproxymanager, or something similar.
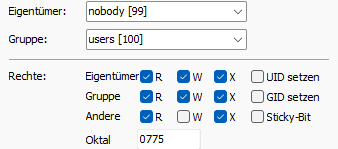
Then right-click the folder again > Properties and set the permissions as follows:
When that is done, you can start with the proxy.
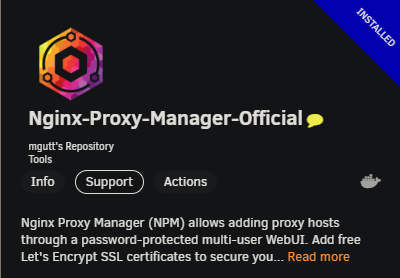
It is again found under APPS. I recommend the Docker container from mgutt here.
Set the settings like in this example:

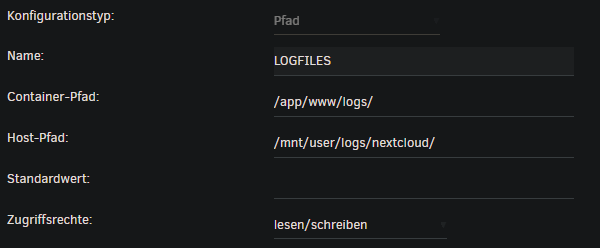
For the log files, click + Add another Path, Port, Variable, Label or Device at the very bottom and enter the following:
Sometimes Nginx Proxy Manager (NPM) may be ready faster than the Nextcloud application during startup. This can cause Nextcloud to be unreachable after a server restart even though everything is running correctly. To fix this, open Advanced View for Nginx Proxy Manager in the Unraid Docker overview and set a wait time value of 60 seconds. With this setting, NPM waits 60 seconds after an Unraid restart, which ensures that all services are started correctly and Nextcloud can be reached smoothly.

When the proxy is finally running, port forwarding still has to be configured.
¶ Port forwarding
I use a Fritzbox 6660 myself, so this example only applies to the Fritzbox:
Log in to the Fritzbox web interface, go to Internet > Permit Access > Port Sharing.
Add a new device here. Under device, select your Unraid server and then click New Sharing at the bottom.
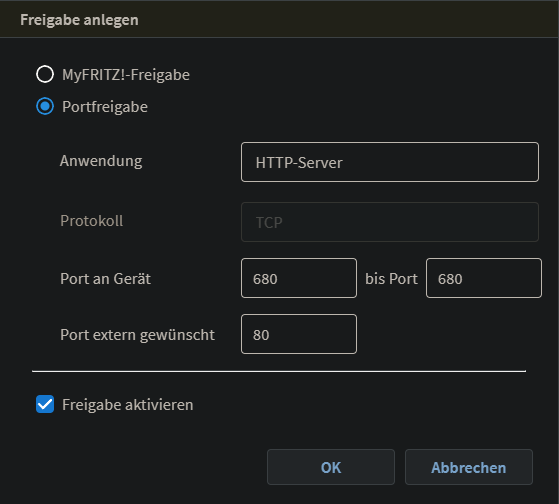
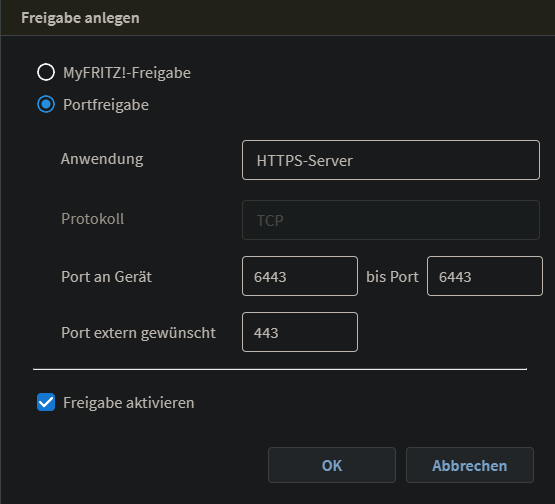
After the port forwards are enabled and saved, continue with the proxy.
The WebUI is required for this. To access the WebUI, enter UNRAID-IP:81 in your browser.
Enter the default login:
admin@example.com
changeme
You should then be prompted to change this data. If no prompt appears, you can also change the data in the top right.
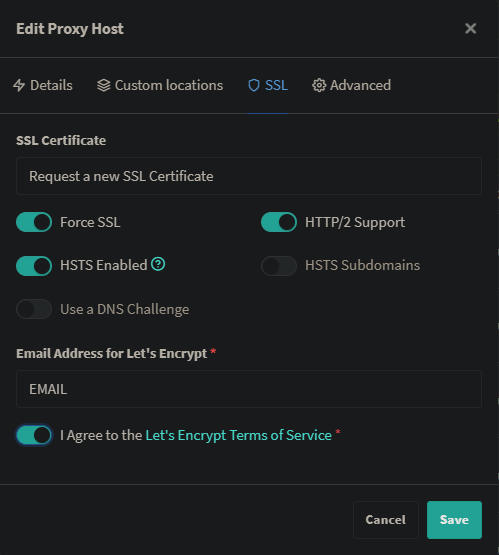
Click Hosts > Proxy Hosts in the WebUI and then click Add Proxy Host on the right side. Configure it as follows:
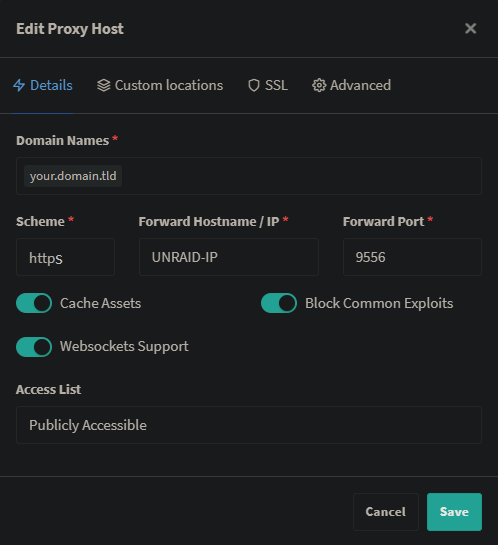
Cache Assets should no longer be enabled.
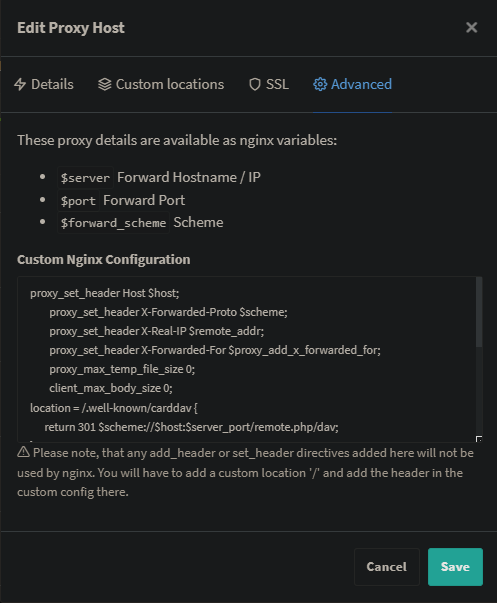
proxy_set_header Host $host;
proxy_set_header X-Forwarded-Proto $scheme;
proxy_set_header X-Real-IP $remote_addr;
proxy_set_header X-Forwarded-For $proxy_add_x_forwarded_for;
        proxy_max_temp_file_size 0;
client_max_body_size 0;
location = /.well-known/carddav {
      return 301 $scheme://$host:$server_port/remote.php/dav;
}
location = /.well-known/caldav {
      return 301 $scheme://$host:$server_port/remote.php/dav;
}
location ^~ /.well-known {
location = /.well-known/carddav     { return 301 /remote.php/dav/; }
location = /.well-known/caldav      { return 301 /remote.php/dav/; }
location ^~ /.well-known            { return 301 /index.php$uri; }
try_files $uri $uri/ =404;
  }
Now restart Nextcloud and all errors are fixed.